Friday, January 21, 2011

Assignment 3 - Birthday card!!

This last assignment that worth 25% wants us to make a birthday card using adobe photoshop. So I chose to create a birthday card for myself because it was easier to use my interest as the main idea which is Football.

First Page- Image

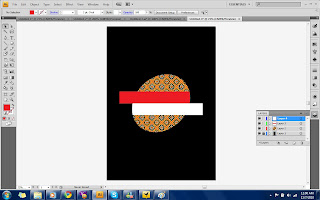
I started with the first page of the card that shows the image and attractive photos.
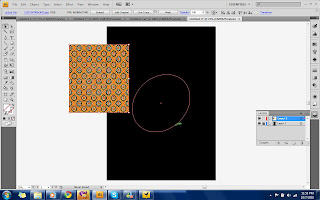
I used these photos:
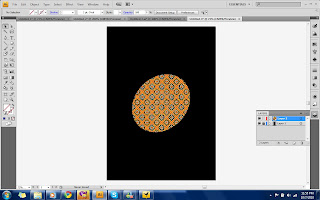
I used this pic as the background, and I changed the colour adjustment > hue and saturation; to make it a little bit yellowish.

 It is my pic when I was playing football. I set auto tone, contrast, and colour to make it look better then I change the position using free transform, around 12 degree. Then I draw a rectangle behind it using rounded rectangle tool to make it looks like a polaroid photo.

   I used this picture just to take the Lionel Messi autograph.I selected the part using magic wand and then paste it on the layer.

On the left top of the image, I wrote a simple birthday greetings, "HAPPY BIRTHDAY, YOU FOOTBALL FREAK!". I played with the blending options, I I used some effect; they were outer glow, bevel and emboss, gradient overlay and satin.

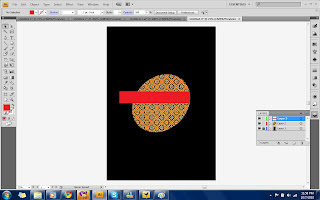
Finally, on the bottom left of the image, I draw a rounded rectangle again and wrote "Signed by Leo Messi" No effect, just as it is.

So, the outcome is like this:


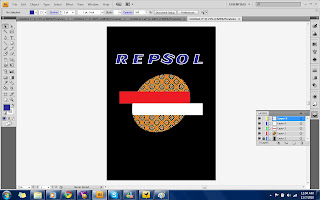
Second Page - Birthday Message
In this page I decided to use Adidas's concept with its 3 stripes. So I made a Black background and drew 3 stripes that I put in the lower part of the image. Then in the bottom right, I placed an Adidas performance logo and wrote "Impossible is nothing" on the bottom center.

Finally, I wrote a simple birthday message on the top of the image
"Be a better son, better friend, better player"
I copied the layer style that I used for the text in the first page and pasted on this layer.

Here it is:
Then finally I just put these 2 images on the landscaped A4 sized canvas on photoshop.

So this is my Birthday card!

Tuesday, December 14, 2010

Assignment 2 CG 2! E- WALLPAPER!!


So in this second assignment, we have to design an MMU Open day e-wallpaper.

I decided to come up with a very simple design, using a lot of white spaces.

The photos/files that I used are all taken from the internet:


I made a gradient for the background and add a texture in the layer option.


Then I cut the paperman and the sticky notes picture using magic wand and paste it to the canvas. I also resized it with free transform tool


Then I started putting some texts to add the information. I changed the layer style as I needed. I used outer glow, bevel and emboss, and color overlay :


Then I put MMU logo, Mascot and TM logo to show that it is an MMU event.

So here is the final output:


Thank you..!!

Monday, November 29, 2010

Assignment 1 CG 2! FACE!!

So we had to edit the given pictures and turn it into a very creative face.
Here are the pics:
So, I decided to create a face of a happy and funny chef with a very catchy mustache.

I used the coconut as the main head, I rotated a little with free transform, then changed the color balance so it will look more like actual skin.

Then I continue with the top first. I cut the mushroom with Lasso tool, rotate it, then move it to the top of the head, so there is the hat.

Next, I used the vegetable as his hair. I copied and mirror it so it made the full hair.

I copied the kiwi and put it on the edge of the head to make the ears. I change the hue and saturation. I also rotate it to fit it with the head.

Then I use the guava as the nose and change the color balance to make it nicer.

I copied the "tie look a like" thing and put it just below the nose to make the mustache, then i changed the hue and saturation to make it more realistic.

I cut the sliced orange using lasso tool then rotate it and use it as his mouth. again, i changed the color balance to adjust the color.

last but not least, I added the eyes by using ellipse tools.

finally, I use the blur tool to make the line blurred so the line between objects become blurred.

Then, Here is the end product!


Thanks!!

PS:

tools used:
  • Select tool
  • Lasso tool
  • Magic wand
  • moving tool
  • blur
  • Ellipse tools
  • and many adjustment on colors

Saturday, July 10, 2010

THE REPSOL INDONESIA!


Thats it!

See you in the next assignment!

THE MAKING (FINISHED)!

So started my new logo by making the black background since I have a white color in the logo. So I used Rectangle Tool to cover the background with Black color.
Layer1.jpeg

The second step was, I placed a BATIK picture and create an Oval shape by using Ellipse Tool.
layer2a.jpeg

and then, still in layer 2, I mixed the picture and the oval by doing Clipping Mask.
layer2b.jpeg

Next I put the Red block by using Rectangle Tool.
layer3.jpeg

I did the same to the second block but this time its White.
layer4.jpeg

The last part was to type the name "REPSOL" by using Type Tool.
layer5.jpeg

So it is DONE!
The Indonesian Repsol!

THE SKETCH!


So I am ready with the sketch of the new REPSOL logo.
Here you go:

Legend:
A : It was originally ORANGE at the top and RED at the bottom. But I chose to fill it with BATIK to add some of my country culture.
B : In the original logo, it is ORANGE. But I change it to RED in order to add more Indonesian effect to the logo.
C : This block is originally WHITE. And I keep it white so it match the upper block so it will be RED and WHITE.
D : It is the name of its company so I won't do much editing on this. Just keep it as it is.

That is all of my sketch and plan, hopefully I could make it in the Ai.

Sayonara!

THE LOGO HAS BEEN CHOSEN!


And the lucky one is...........

Yeah! I chose REPSOL to redesign!

NEXT...!! My sketch of the NEW REPSOL!